5 iPhone security settings you need to change immediately
Some of the most crucial iOS settings are also the most difficult to find, but it is well worth your time to find them and use them.
Despite all the headlines that make you want to run for the hills, iOS is really brimming with useful security features. Others are more out of the way but nonetheless worthy of your attention, while some are engaged by default and safeguarding you whether you realize it or not. So grab your iPhone and follow along as I demonstrate some tweaks you may do to keep it secure.
1. Clear out the junk texts
At the carrier level, spam calls are often banned, but texts are another story. Take some action to stop the bogus delivery alerts and other trash that are flooding your phone.
Blocking the number is the easiest and most fundamental way to halt spam SMS. To ban a number in Messages, follow these steps:
In a chat in Messages, tap the name or number at the very top.
Scroll down and choose Block this Caller after selecting info.
Messages from unknown senders can be filtered in order to take things a step further. Any texts you get from people who are not on your contact list will be placed in the Messages list's Unknown Senders page. This is how you do it:
Open Settings and choose Messages.
Make Filter Unknown Senders active.
Bonus advice: You may report messages from unknown numbers that have been classified as spam or trash to Apple. Tap Report Junk in the message, followed by Delete and Report Junk.
2. Stop all the tracking
Trackers that log where you've been and what you've been doing frequently follow you as you navigate from one website to another.
All of your browsing history, likes, shares, clicked advertising, and shopping cart information is available. Targeted advertising or the sale of this information to other parties are also possible.
Third-party cookies and data are restricted by Safari. The good news is that this is turned on by default, but it's a good idea to make sure it is. This is how:
Go to Safari under Settings.
Select Prevent Cross-Site Tracking under Privacy and Security. If it is already on, you can proceed.
3. Block the creep who won’t leave you alone
I frequently receive requests for assistance from folks coping with an ex, a violent family member, or an old acquaintance who won't accept no for an answer on my national radio program and podcast. Block them if you're tired of receiving their calls and messages.
Block a contact through contacts:
Tap the name of the contact you wish to block after opening Contacts.
Select Block Contact, then Block This Caller.
By using the Messages app, block a user:
Tap a discussion after opening the Messages app.
At the top of the screen, tap the name, phone number, or profile image.
The contact's information button can be tapped.
Block this Caller > Block Contact by scrolling down.
4. Browse privately
Private Browsing is the name of the Incognito mode in Safari. No, it doesn't completely protect your privacy, but it does offer certain advantages:
The websites you visit are not shared with your other devices, nor is your browsing history saved.
Safari won't save the webpages you visit, the search terms you use, or your AutoFill data.
On an iPhone, follow these steps to open the Private Browsing window:
On your iPhone, launch Safari, and then tap the two squares tabs button in the bottom right.
The Tab Groups list will appear if you tap [number] Tabs at the bottom of the screen while you have a lot of tabs open.
To display the Tab Groups list when only one tab is open, tap Start Page at the bottom of the screen.
Select Private, then select Done.
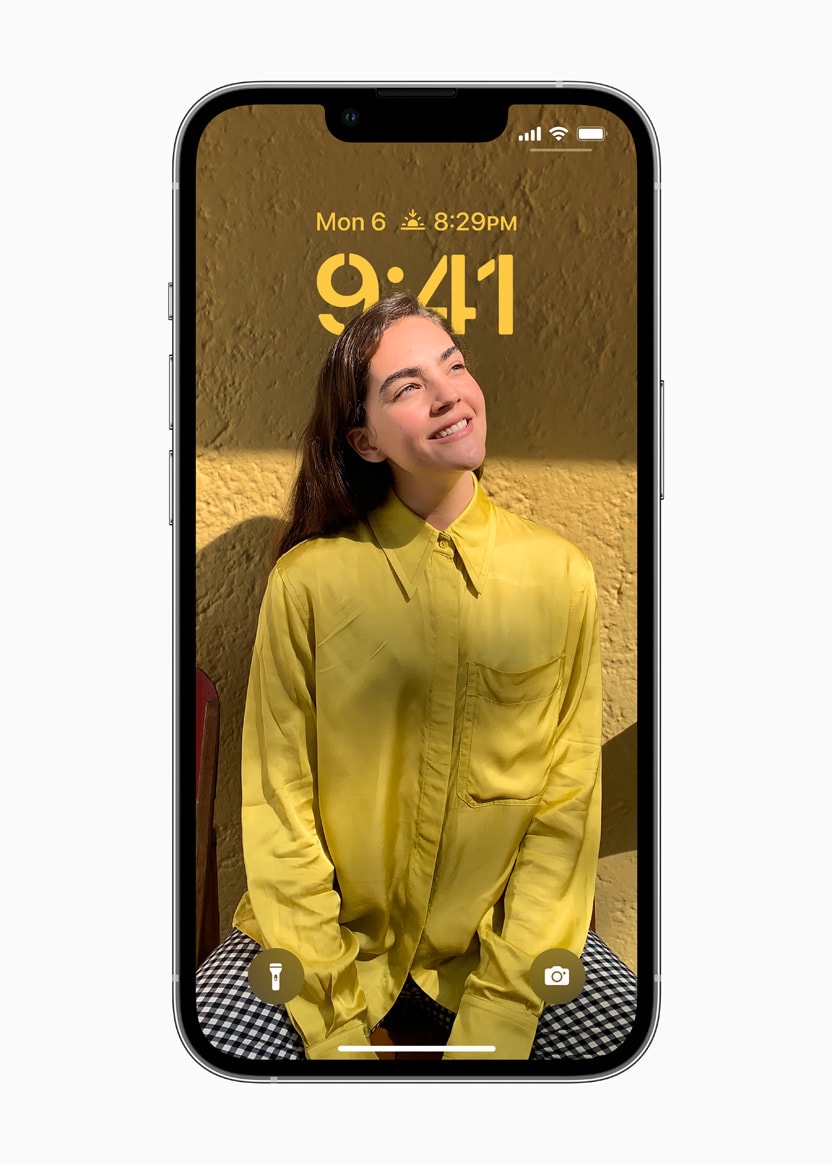
5. Lock down your lock screen
From your iPhone's lock screen, you may access a few features, including widgets, media playback controls, your camera, and the Control Center.
To maintain your privacy, you might wish to modify what can be accessed from your lock screen. Anyone holding your phone can see it if you can.
Here's how to maintain confidentiality:
Enter your four-digit passcode when asked. Review the options under the Allow Access When Locked section and decide which will be shown on the lock screen by going to Settings > Face ID & Passcode (on an iPhone with Face ID) or Touch ID & Passcode (on an iPhone with a Home button). Options include Control Center, Notification Center, and more. If you wish to keep alerts private, disable Notification Center.